
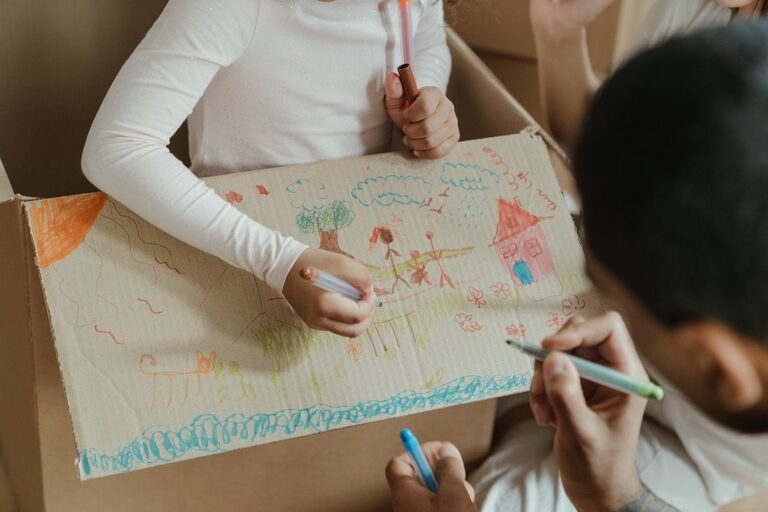
Creating art is a wonderful way for children to express themselves, explore creativity, and build confidence. However, as the piles of paintings, drawings, and crafts grow, many parents find themselves wondering how to keep all these precious creations organized without turning their homes into clutter zones. If you’re looking for practical tips to manage your kids’ art, you’ve come to the right place.
In this post, we’ll explore easy and manageable strategies to store, display, and preserve your child’s artwork so that both you and your little ones can enjoy their creativity for years to come.
Why Organizing Kids’ Art Matters
Before diving into the tips, it’s worth understanding why keeping kids’ art organized is beneficial:
– Preserves Memories: Artwork captures your child’s development and special moments.
– Reduces Clutter: Organized art prevents overwhelming piles around the house.
– Encourages Creativity: Displaying art boosts children’s confidence and motivates them to create more.
– Simplifies Decision Making: Having a system makes it easier to decide what to keep, recycle, or gift.
With these benefits in mind, let’s explore practical ideas you can start using today.
Step 1: Set Up a Dedicated Art Space
Having a designated space where your child can create and store art materials helps contain the mess and encourages routine.
Tips for Creating an Art Corner:
– Choose a well-lit area with easy-to-clean surfaces.
– Use storage bins, shelves, or carts to hold supplies.
– Include a corkboard or magnetic board to display recent pieces.
– Make it inviting and accessible for your child’s age and height.
An art space promotes independence and makes it less likely art projects get lost or scattered.
Step 2: Sort and Curate Regularly
It’s easy to accumulate a large volume of artwork quickly. Establish a regular habit of sorting through new pieces to decide what to keep.
How to Sort Artwork:
– Involve Your Child: Ask them to choose their favorites.
– Set Limits: For example, keep only 5 to 10 pieces per month.
– Consider Purpose: Save milestone drawings, special events, or first attempts.
– Recycle or Gift: Reuse paper for crafts, or share art with family members as gifts.
Sorting prevents overwhelming piles while respecting your child’s attachment to their creations.
Step 3: Use Creative Storage Solutions
Once you’ve selected the artwork to keep, it’s time to store it responsibly for easy access and preservation.
Storage Ideas:
– Portfolios or Art Folders: Large plastic or paper folders are designed to hold flat artwork and keep it protected.
– Accordion Files: Compact and categorized by date or theme.
– Storage Boxes: Plastic or cardboard boxes labeled by year or child’s name.
– Digital Archiving: Photograph or scan artwork for digital storage. This reduces physical space and allows you to create photo books or slideshows.
Choosing the right storage method depends on available space, number of pieces, and how often you want to revisit them.
Step 4: Display Artwork Proudly
Displaying your child’s art lets them know their efforts are valued and adds a personal touch to your home.
Display Ideas:
– Rotating Gallery: Use clipboards, wire with clips, or frames with easy back openings to change art regularly.
– Wall Collage: Dedicate a wall or section to a large collage.
– Art Books: Bind or compile artwork into homemade albums.
– Functional Items: Turn drawings into calendars, mugs, or pillows using online printing services.
Changing displays keeps the space fresh and highlights current favorites without clutter.
Step 5: Make Art Organization a Family Activity
Turning organization into a fun, regular family routine helps children learn responsibility and respect for their belongings.
Family Organization Tips:
– Schedule a monthly art review day.
– Celebrate the “Art Keeper” of the month.
– Combine art storage tasks with storytelling about each piece.
– Encourage creative reuse of old artwork in crafts.
This builds positive habits and reinforces the value of their creative work.
Bonus Tips for Large or 3D Art Projects
Three-dimensional art like sculptures and crafts can be tricky to organize due to size and fragility.
– Use clear bins with labels.
– Photograph bulky pieces before recycling.
– Dedicate shelf space for display rotation.
– Rotate these projects to keep the collection manageable.
Final Thoughts
Organizing your child’s art doesn’t have to be overwhelming. By creating dedicated spaces, regularly sorting, using smart storage, and proudly displaying their work, you can celebrate their creativity and keep your home tidy. Remember, the goal isn’t to keep every single piece but to honor the memories and joy art brings to your family.
Try implementing a few of these tips and find what works best for your household. Happy organizing!