
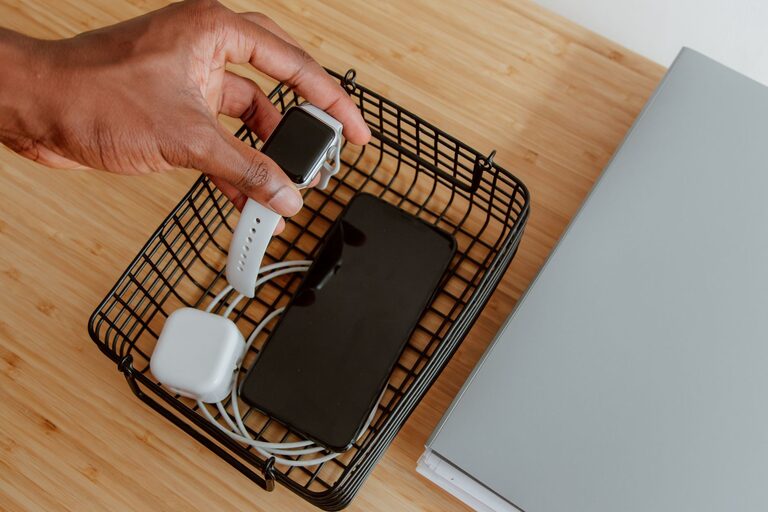
Creating a dedicated charging station for your devices is a simple yet effective way to keep your home or office organized while ensuring that your gadgets are always powered up. Whether you have smartphones, tablets, smartwatches, or other rechargeable devices, having a central spot can save time, reduce clutter, and minimize the risk of losing chargers or cables.
In this guide, you’ll learn step-by-step how to set up a charging station tailored to your needs.
Why Set Up a Charging Station?
Before diving into the setup, it’s helpful to understand the benefits:
– Organization: Avoid tangled cables and scattered chargers.
– Accessibility: Easily find and charge devices in one spot.
– Safety: Prevent tripping hazards and protect devices from damage.
– Efficiency: Charge multiple devices simultaneously.
Step 1: Choose the Right Location
Finding the perfect spot is key.
– Convenience: Pick a location where you and your family often place or use devices, such as a living room corner, kitchen counter, or home office desk.
– Power Source: Ensure the area has access to electrical outlets.
– Surface: Choose a sturdy, flat surface that can accommodate all devices comfortably.
Step 2: Select the Charging Equipment
There are many charging tools available. Consider the following:
Types of Chargers
– Multi-Port USB Chargers: These allow you to charge several devices at once from a single outlet.
– Wireless Charging Pads: Ideal for devices that support wireless charging, reducing cable clutter.
– Charging Stations with Compartments: Some stations have built-in slots to hold devices upright while charging.
Cables and Adapters
– Use high-quality, compatible cables for safety and efficiency.
– Consider getting extra cables of different lengths to suit your setup.
Step 3: Organize the Station
Cable Management
– Use cable organizers such as clips, sleeves, or ties to prevent tangling.
– Label cables if you have many similar ones to quickly identify each.
Device Holders
– Utilize stands or docking stations to keep devices visible and upright.
– Consider small trays or baskets to hold smaller accessories like earbuds.
Step 4: Set Charging Rules and Habits
– Encourage family members or coworkers to place devices in the station when not in use.
– Charge devices overnight or during low-use periods to maintain battery health.
– Regularly check cables and chargers for wear and replace them as needed.
Step 5: Add Extras for Convenience
Make your charging station more user-friendly with these extras:
– LED lights: To easily see the station in low light.
– Surge protector: To protect devices from power spikes.
– Labels or signage: To indicate which port or cable is for which device.
Maintenance Tips
– Clean the station regularly to avoid dust buildup.
– Check connections to ensure devices charge efficiently.
– Update or upgrade charging equipment as technology changes.
Final Thoughts
Setting up a charging station doesn’t have to be complicated or expensive. By choosing the right location, equipment, and organization methods, you can create a neat and functional space that keeps your devices powered and ready for use. This small investment of time and effort will pay off in convenience and peace of mind.
Happy charging!